
Getting Started with Rhino 3D
Hey guys! Happy New Year from ArchiDabble!
It’s Linda, and I’m kicking off the new year with a post to introduce you to Rhino. Learning new software can always seem daunting, so hopefully after reading this post you’ll be able to approach the many features of Rhino with more confidence to model your own projects. This post is designed to get you used to how the programme looks and works so you can get comfortable with exploring its 3D model making capabilities.
What is Rhino?
Rhino is a 3D modelling software widely used amongst architects and architecture students. It allows you to digitally represent your designs, both in 2D and 3D, with multiple rendering features that can really make your projects stand out. On top of this, Rhino’s plugins also allow you to test your designs against different parameters through running simulations and shaping your designs according to certain variables. Another common use for it is creating templates for laser-cut models, where you can directly draw on the components you intend to cut out with a laser cutting machine.
Despite Rhino having a ton of features and a handful of plugins at your disposal, it's not as hard as you may think to get started with this awesome modelling software. Let's have a look at some of the basic features of Rhino 3D.
Rhino Interface
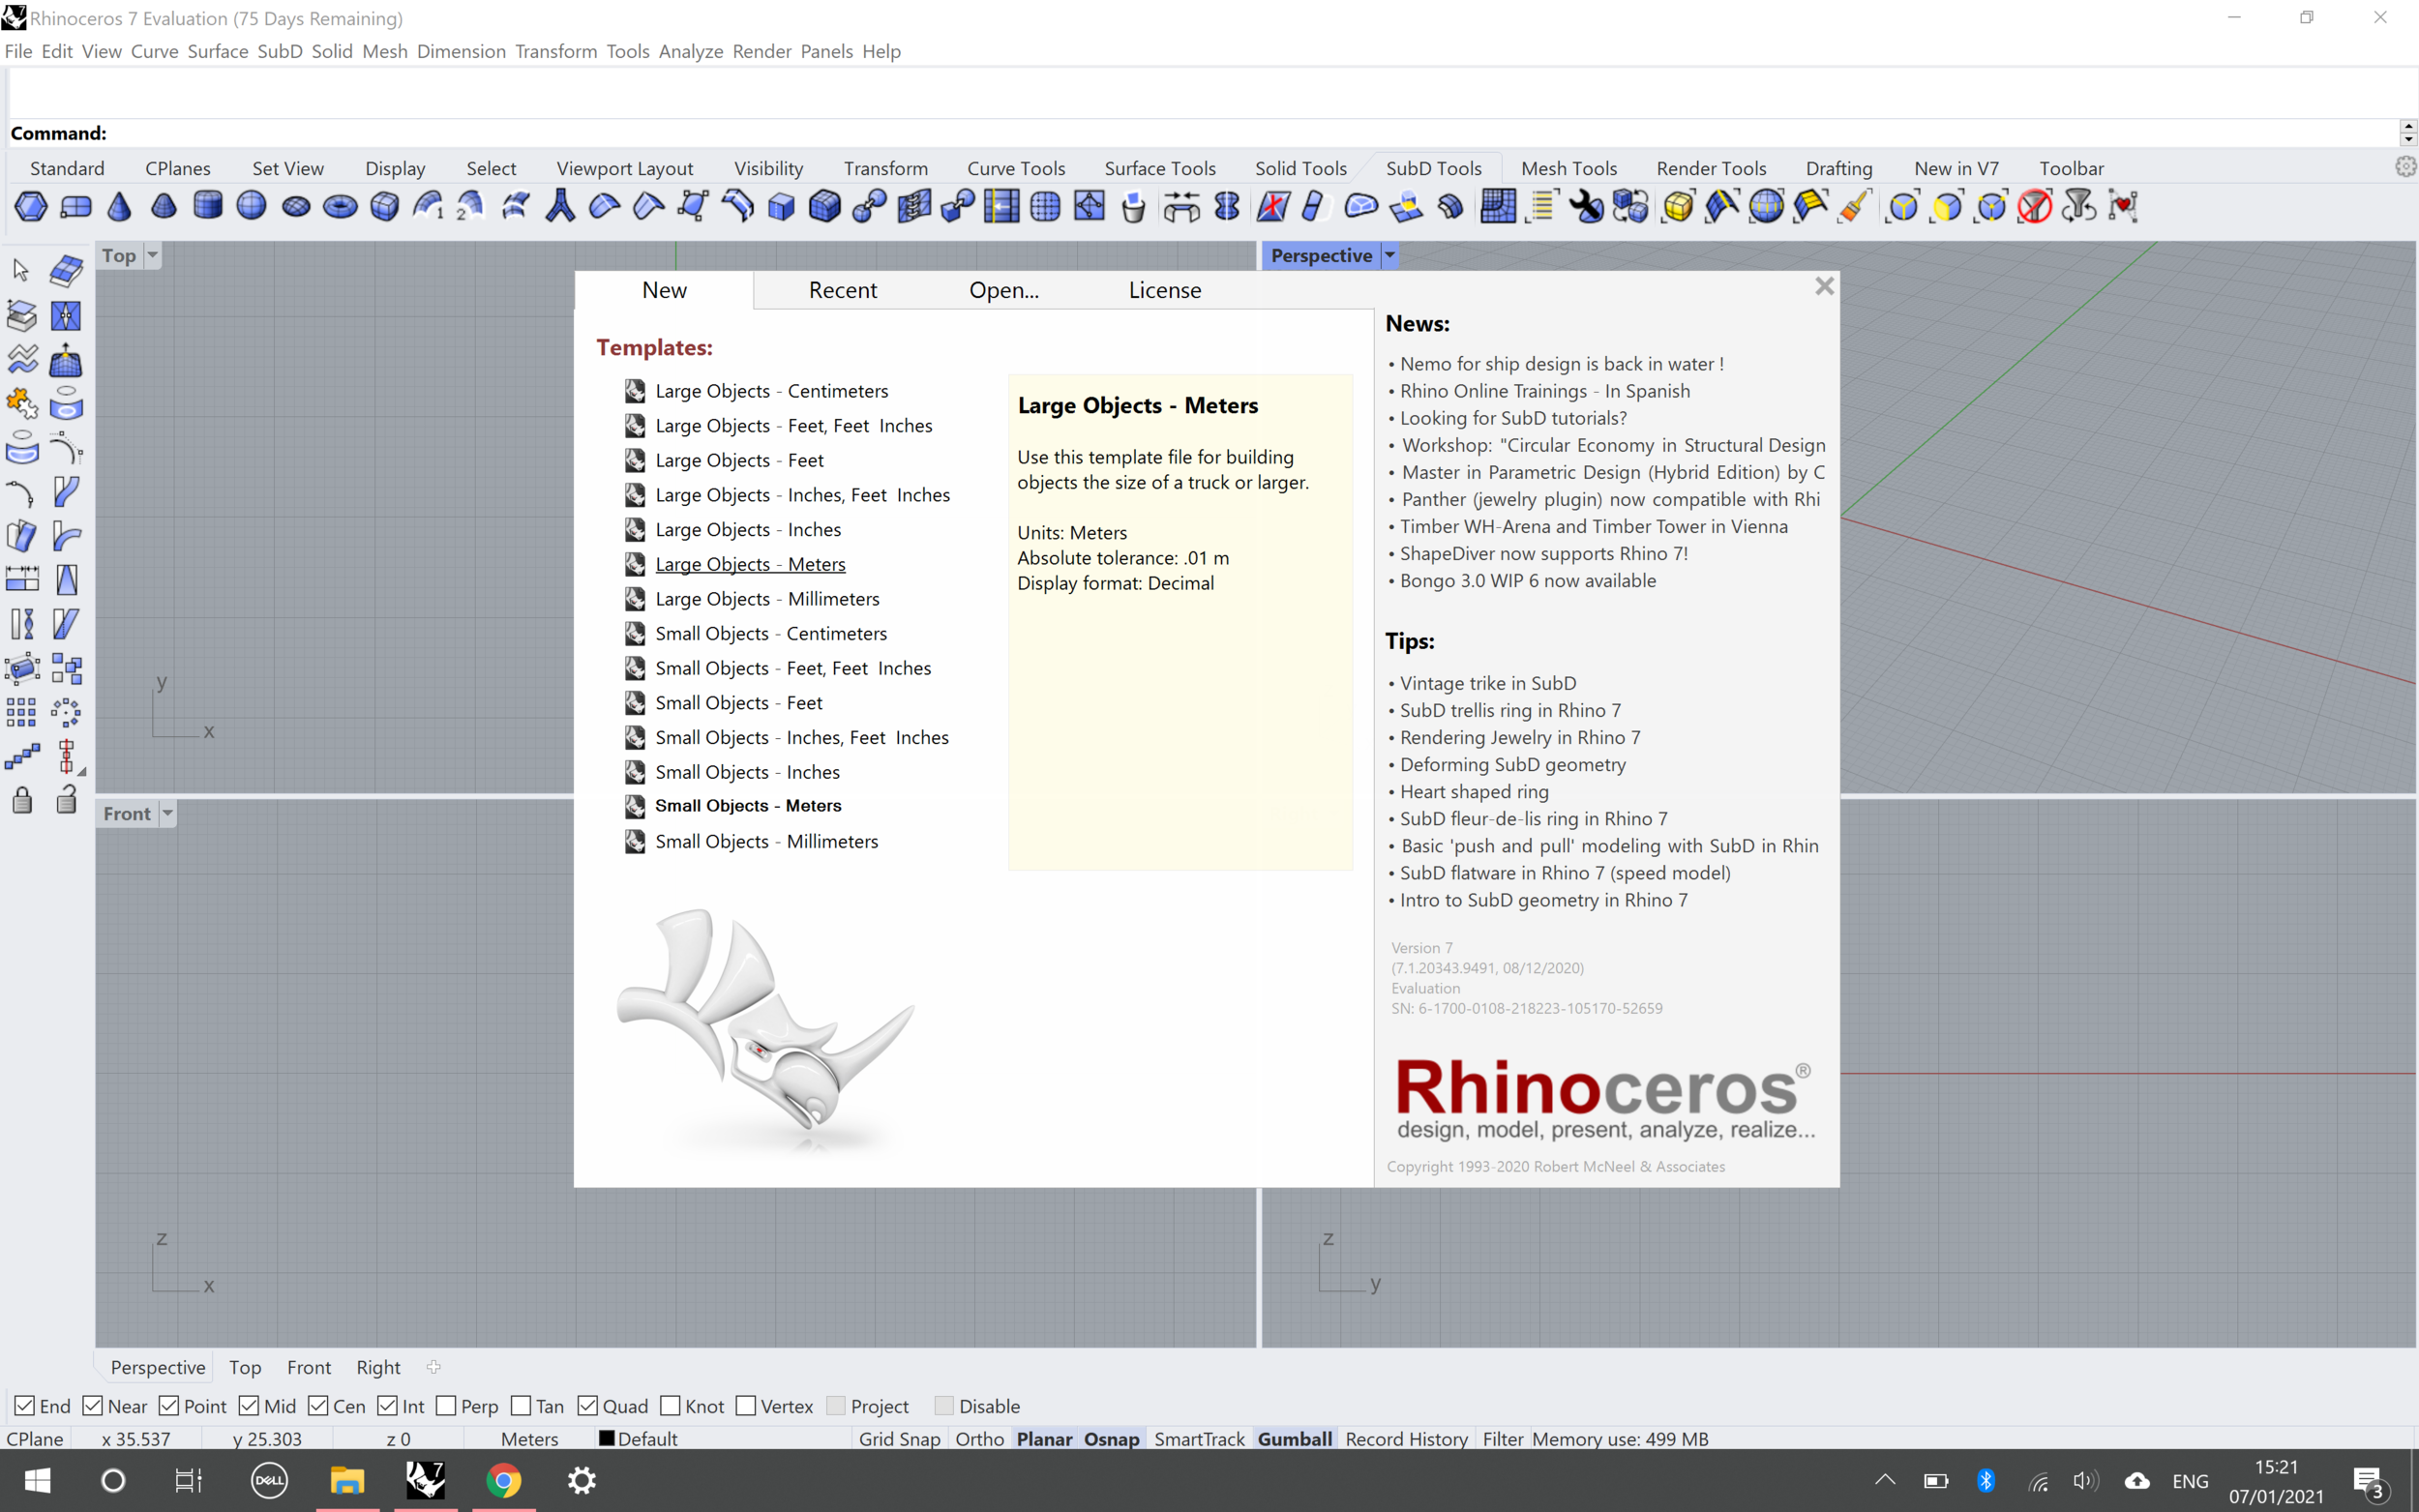
When opening up Rhino for the first time, you'll see a range of different templates to choose from to create a new file. For architecture, we'll stick to the 'Large Object - Meters' template designed for 'building objects the size of a truck or larger'. Click on it to open up the file.

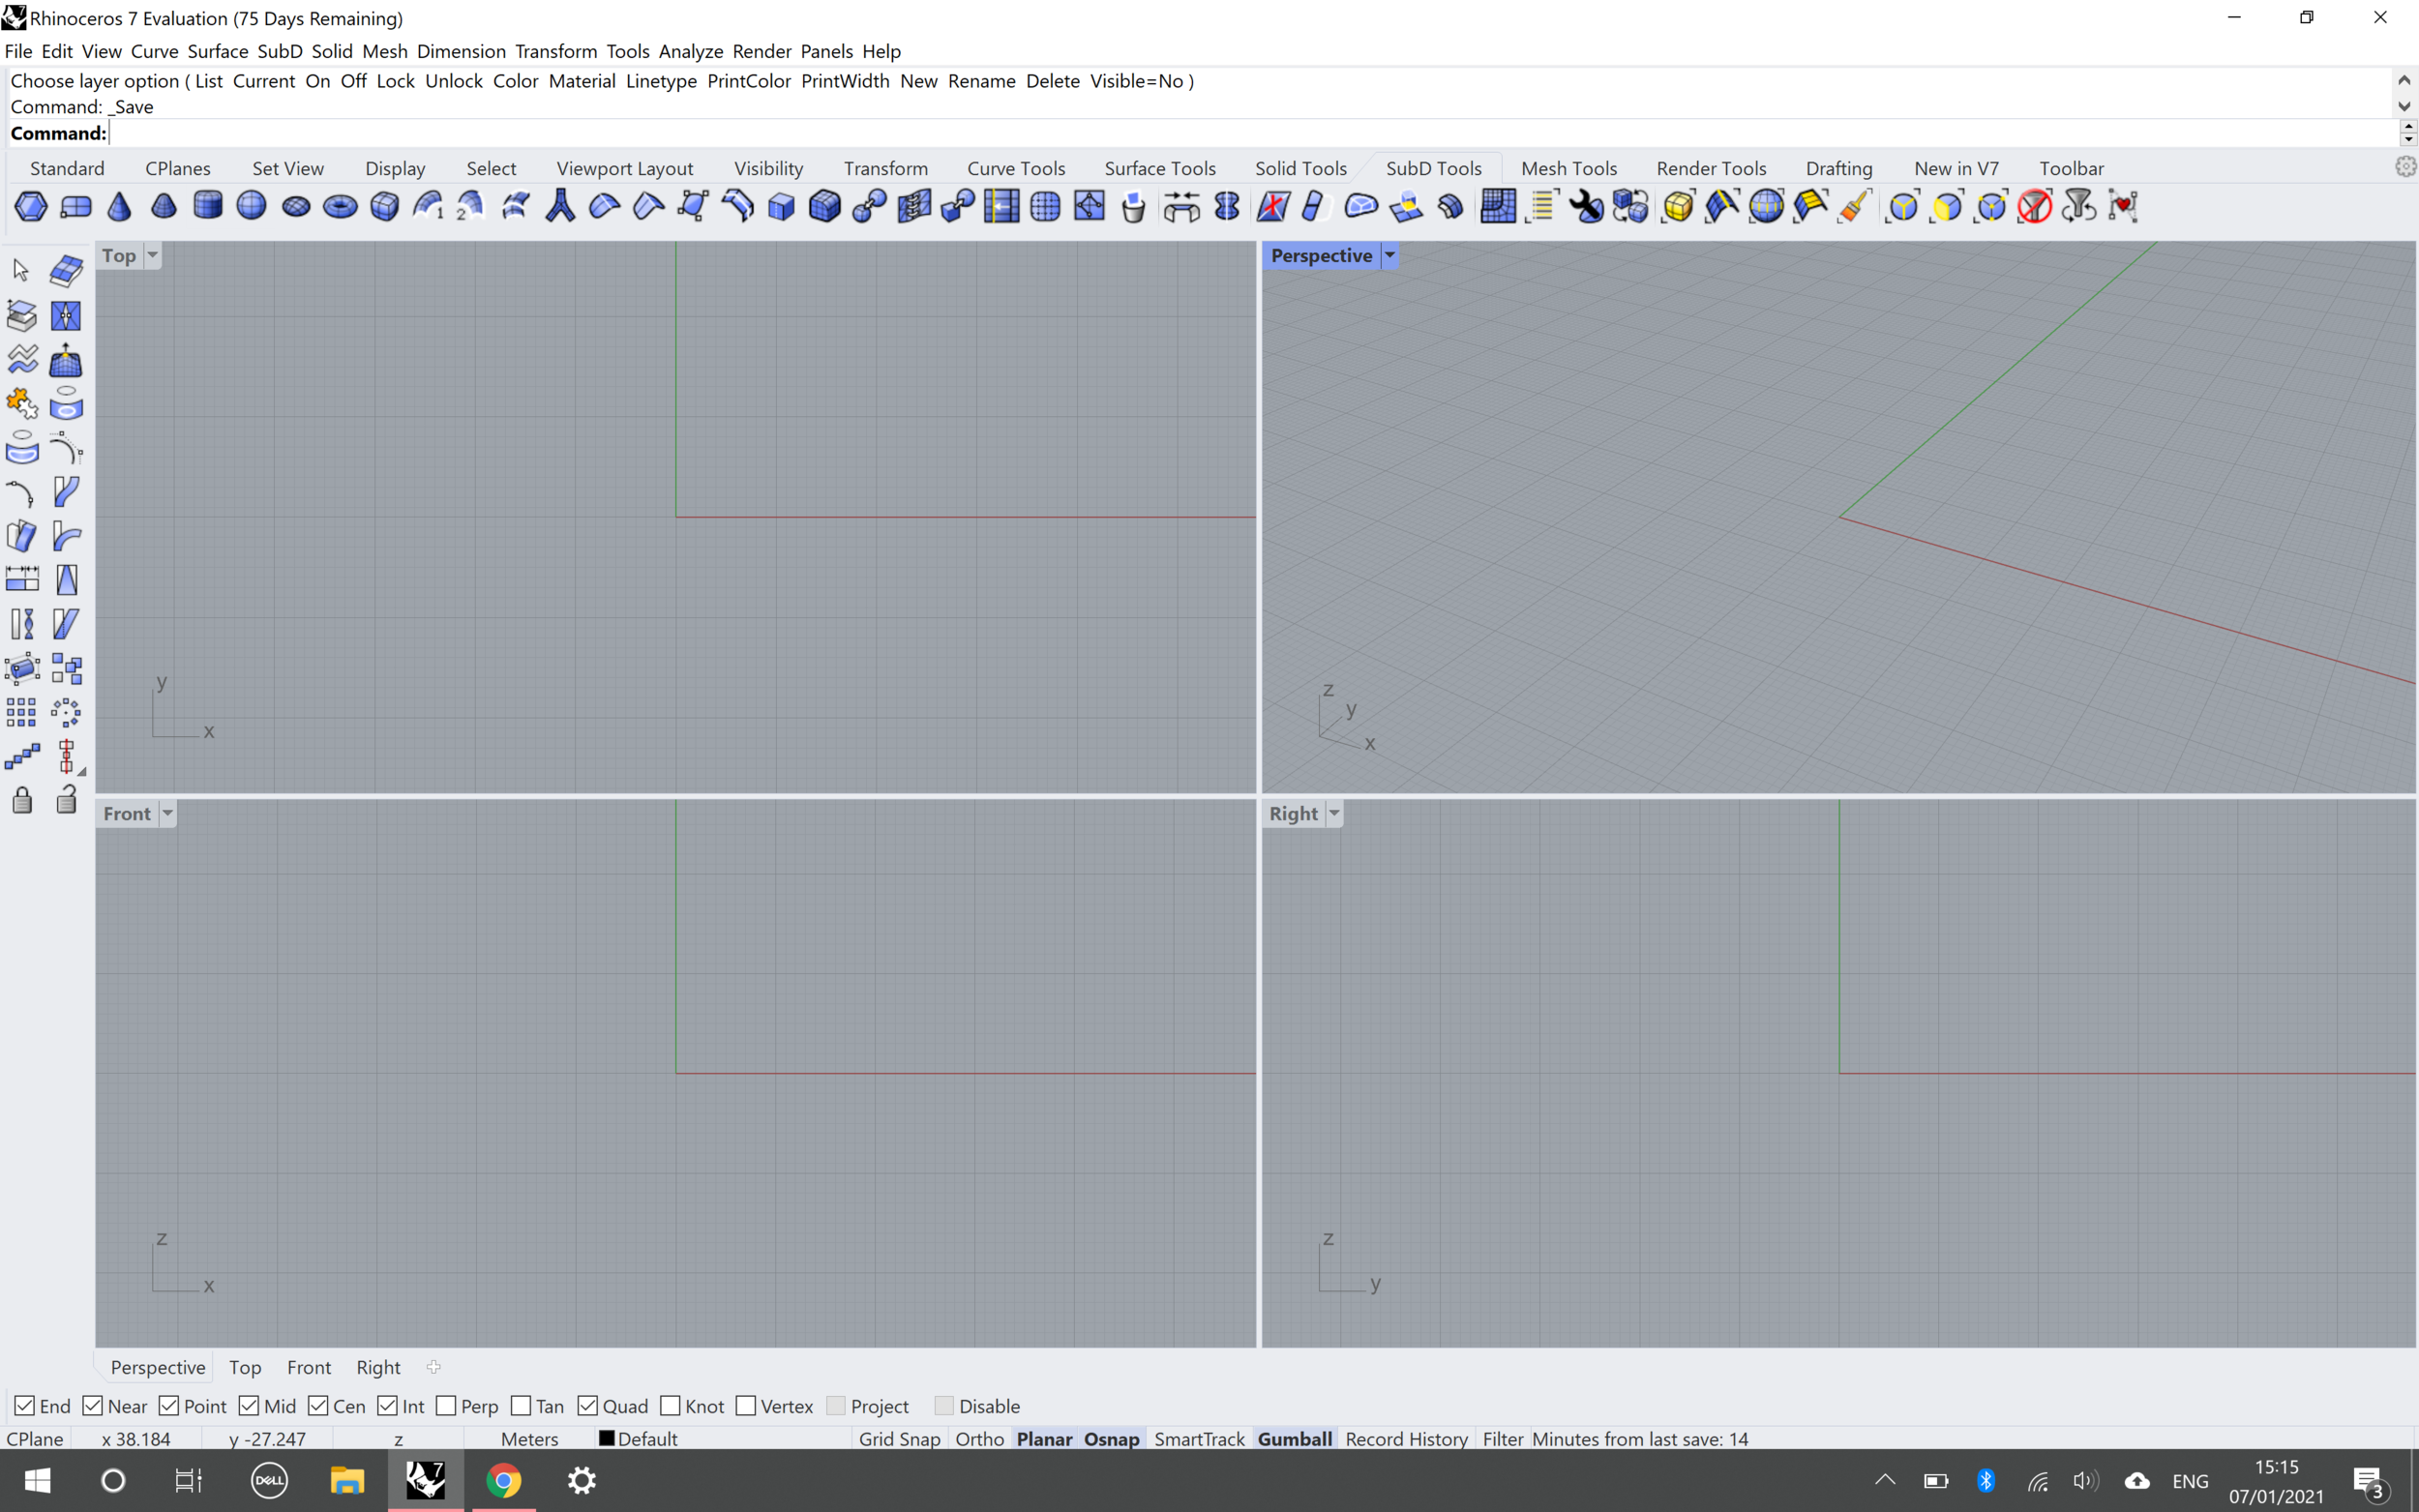
Menu: At the top of the screen you'll see the menu bar with drop down menus of different Rhino features.

Command Bar: The large white box is where your commands will appear as you use the features, showing you the details of the commands as you use them and their status whilst being executed. Commands are your best friend in Rhino - once you learn the names of the features you need, you just need to type in the name of it and your command will be carried out!

Snaps: These are important to master in Rhino if you want to work precisely and efficiently. The programme will detect the nearest significant point according to what you want it to recognise in relation to the geometry of your shapes. To start off with, I would recommend enabling:
End
Point
Mid (point)
Centre
Int(ersection)
If you're working with circles, 'Quad' is also useful as it enables Rhino to recognise and snap to the points of the four quadrants of the circle.
Bear in mind that not all snaps are suitable for everything you want to do in Rhino. So if you're struggling to precisely find a point on your shapes, try toggling the snaps.

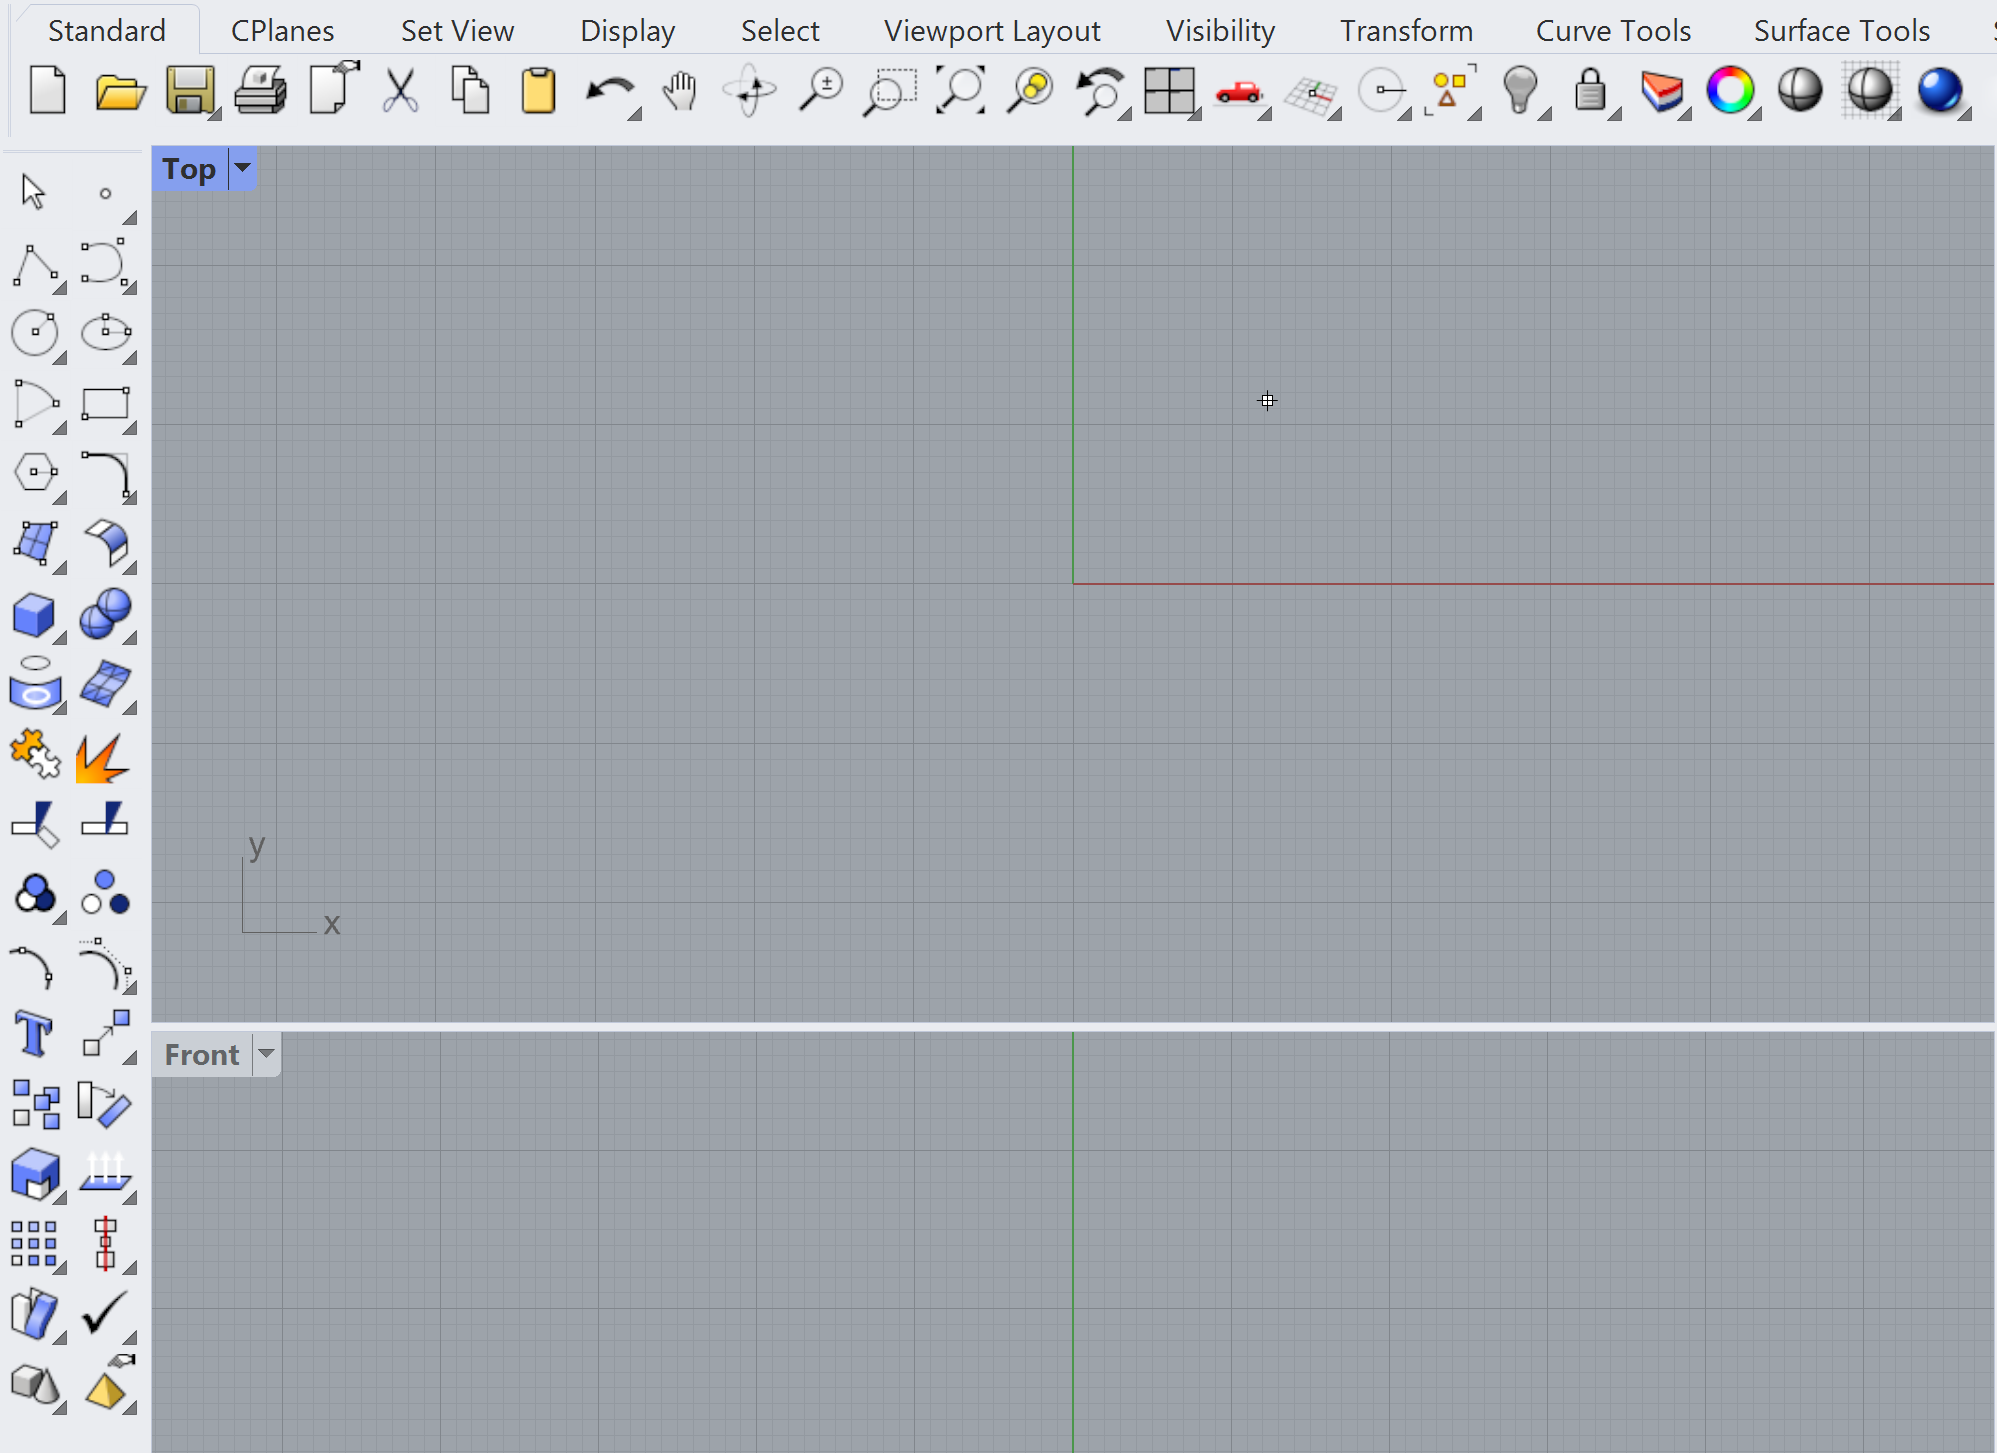
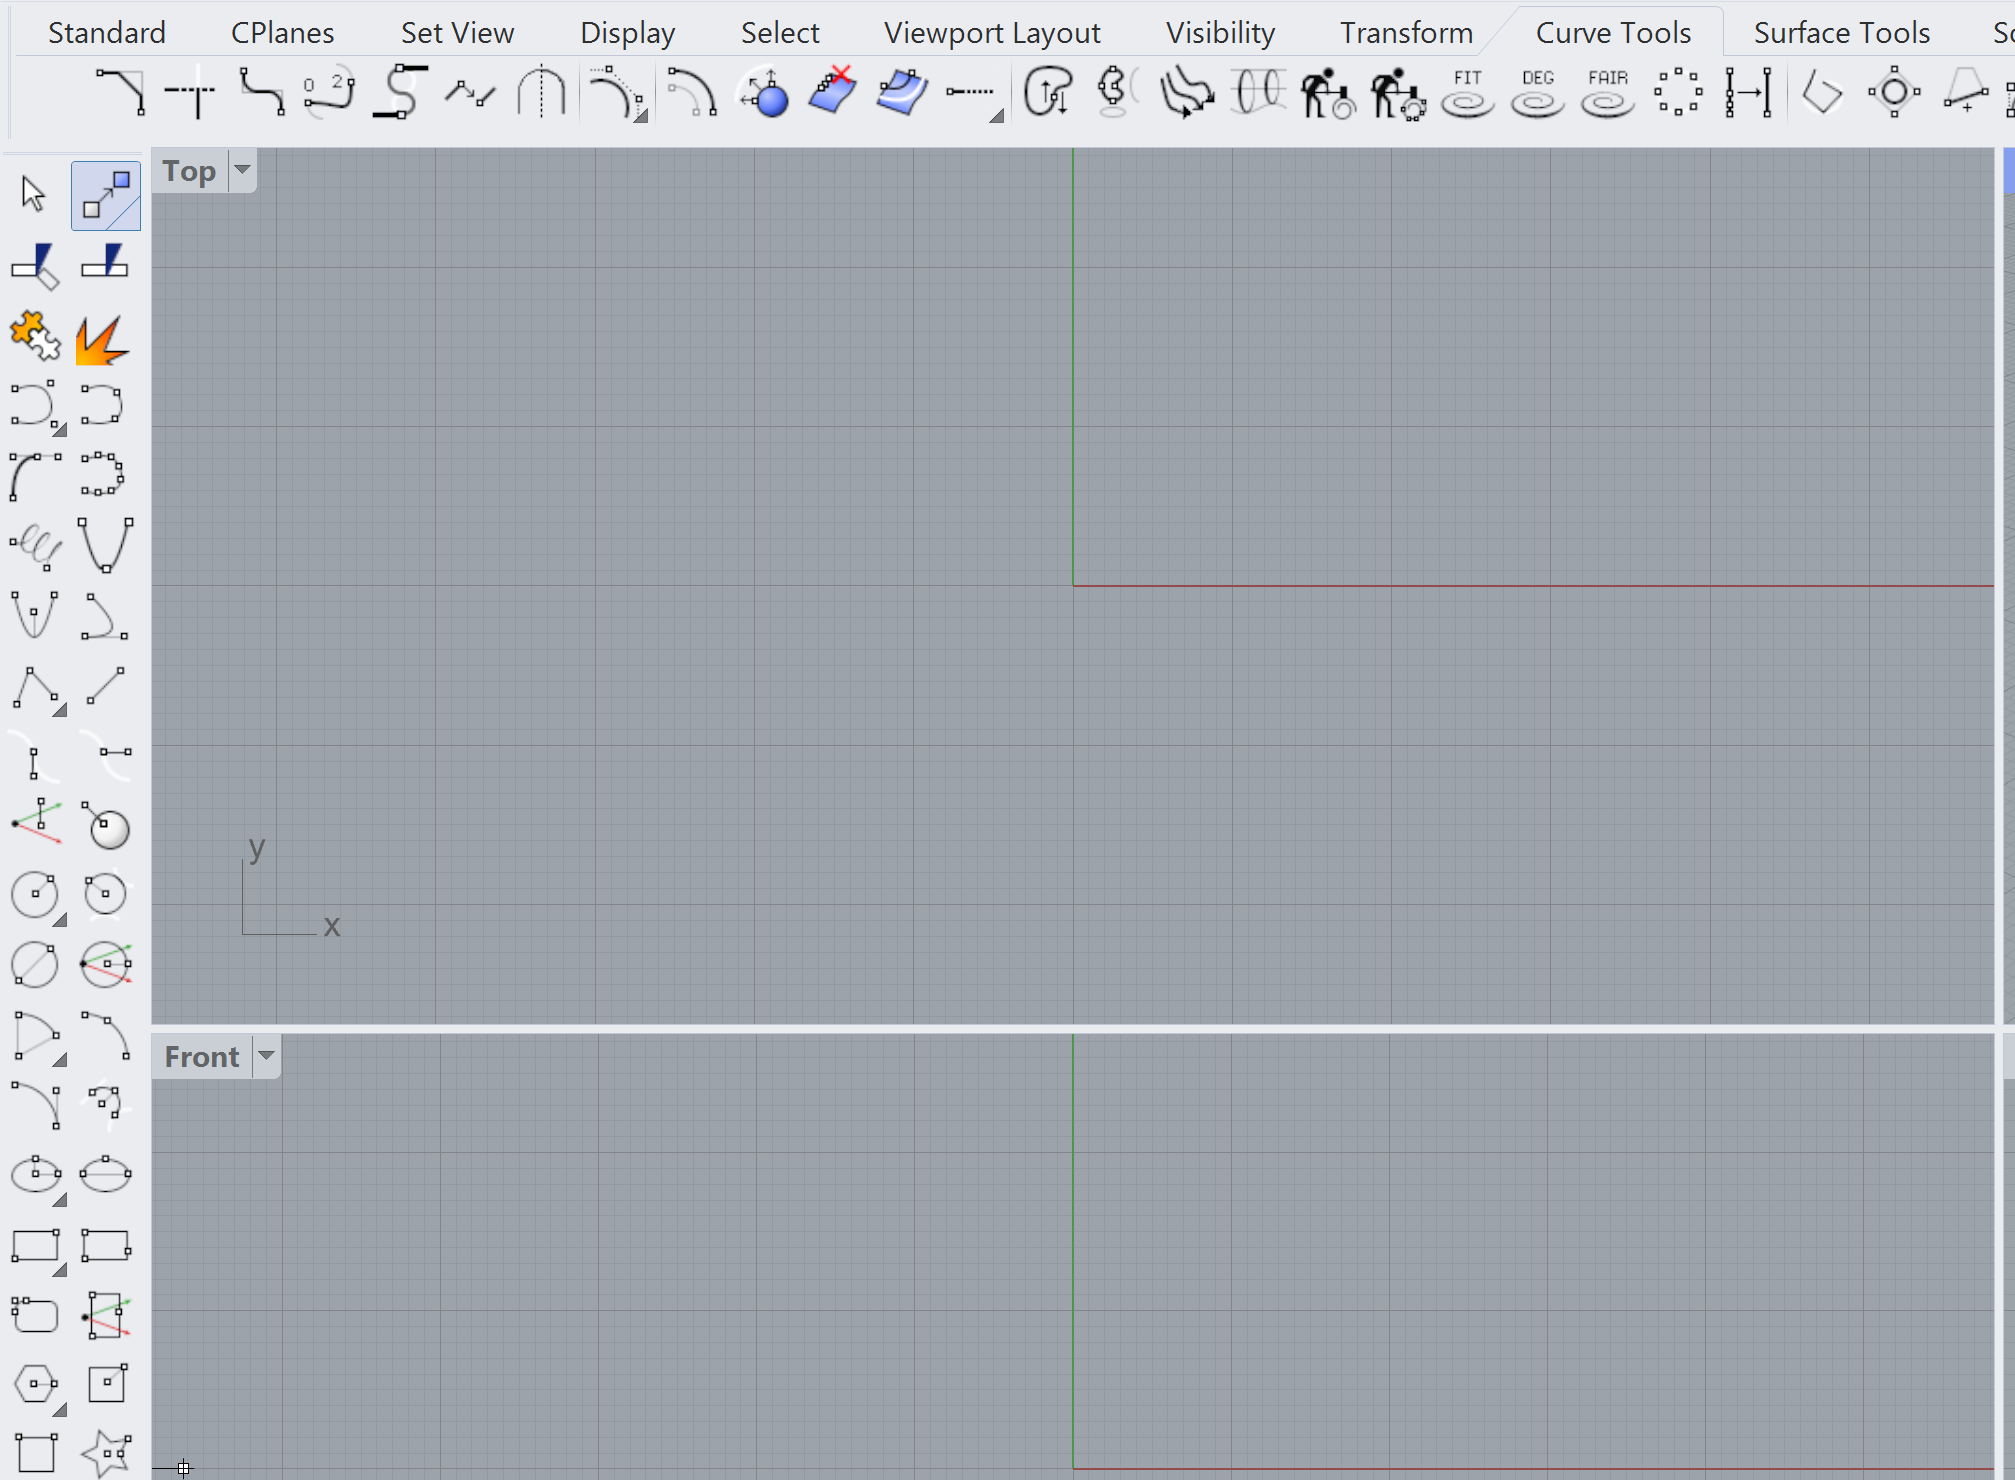
Tool Tabs and Panels: Like the menu bar, the tool tabs give you access to all the Rhino features but this time with icons that help you find what you need more easily. You'll notice that the left panel will remain the same from the 'Standard' to the 'Transform' tab as well as the 'New in V7' and 'Toolbar' tabs, but will change to offer more tools from the 'Curve Tools' to the 'Drafting Tools' tabs.


Two panels that are useful to enable are the 'Layers' and the 'Properties' panel. Go to the 'Panels' menu bar, click on the 'Layers' and 'Properties' options and drag them to the right hand side of the screen where a blue box should appear, indicating where the panels will be placed.

Viewports: If your screen is split up into four like the one on the right, that's because by default Rhino opens up new files from the templates with four viewports, which are labelled in the top left hand corner of each box. If you click on the label, a drop down menu will appear which allows you to change the view of each box. You'll also find some different finishes that you can test out on your model. To maximise one viewport panel, double click on its label in the left hand corner - this fills up the whole screen with your selected viewport.
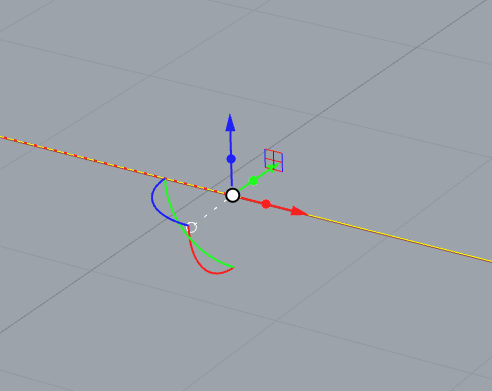
Gumball: The gumball is one of the most handy features on Rhino. It allows you to quickly manipulate objects in the most common ways you'll need to. With it, you can move, extrude and rotate your shapes, either freehand by dragging the arrow, ball or loops respectively, or precisely by clicking on these three features of the gumball and inputting your desired values by which you want to perform these transformations. You can also extrude both sides of an object by dragging or inputting a value for the small square connected to the gumball by a dashed line. Bear in mind that each colour responds to a certain axis, which is the way that Rhino operates.
Geometry in Rhino
Rhino works with curves (lines), surfaces (planes) and solids (volumes). This is vital to wrap your head around if you want to use Rhino efficiently and have a productive workflow when modelling. You might have seen examples of complex Rhino models and renders, but the best way to go about them is to simplify everything as much as possible where you can. Let's look at a couple of useful tools to get you started on exploring geometry in Rhino.
Curve Tools:
Line/Polyline
These tools allow you to create straight lines to build up shapes, or use as boundaries in your models.
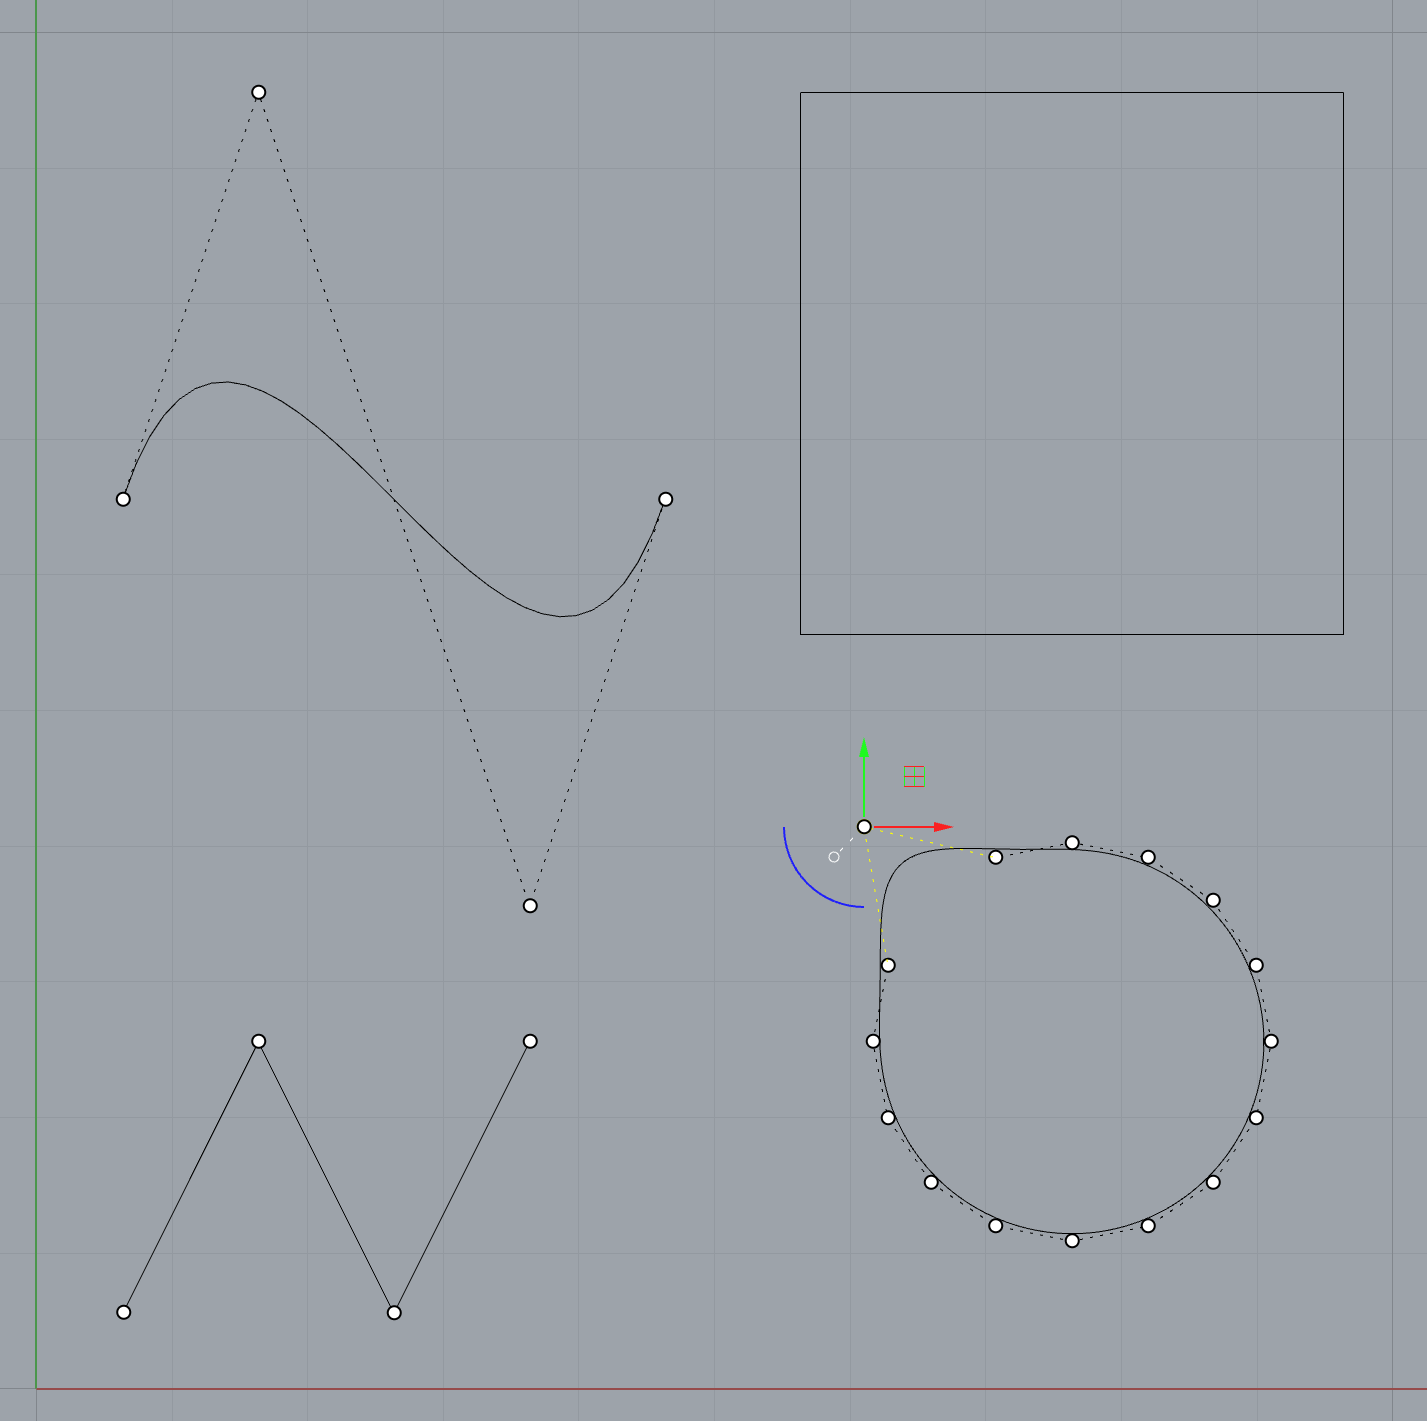
Curve by interpolation
To create rounded, curved shapes, the curve by interpolation is great to learn and get used to. It creates curved lines by creating control points where you click and curving the shape against those points.
Rectangle, Circle/Ellipse and Polygon
These tools are self explanatory and allow you to create these shapes in the form of curves. Making the circles and ellipses deformable allows you to manipulate regular rounded shapes into more complex forms that you can use as a base to extrude organic 3D shapes from.
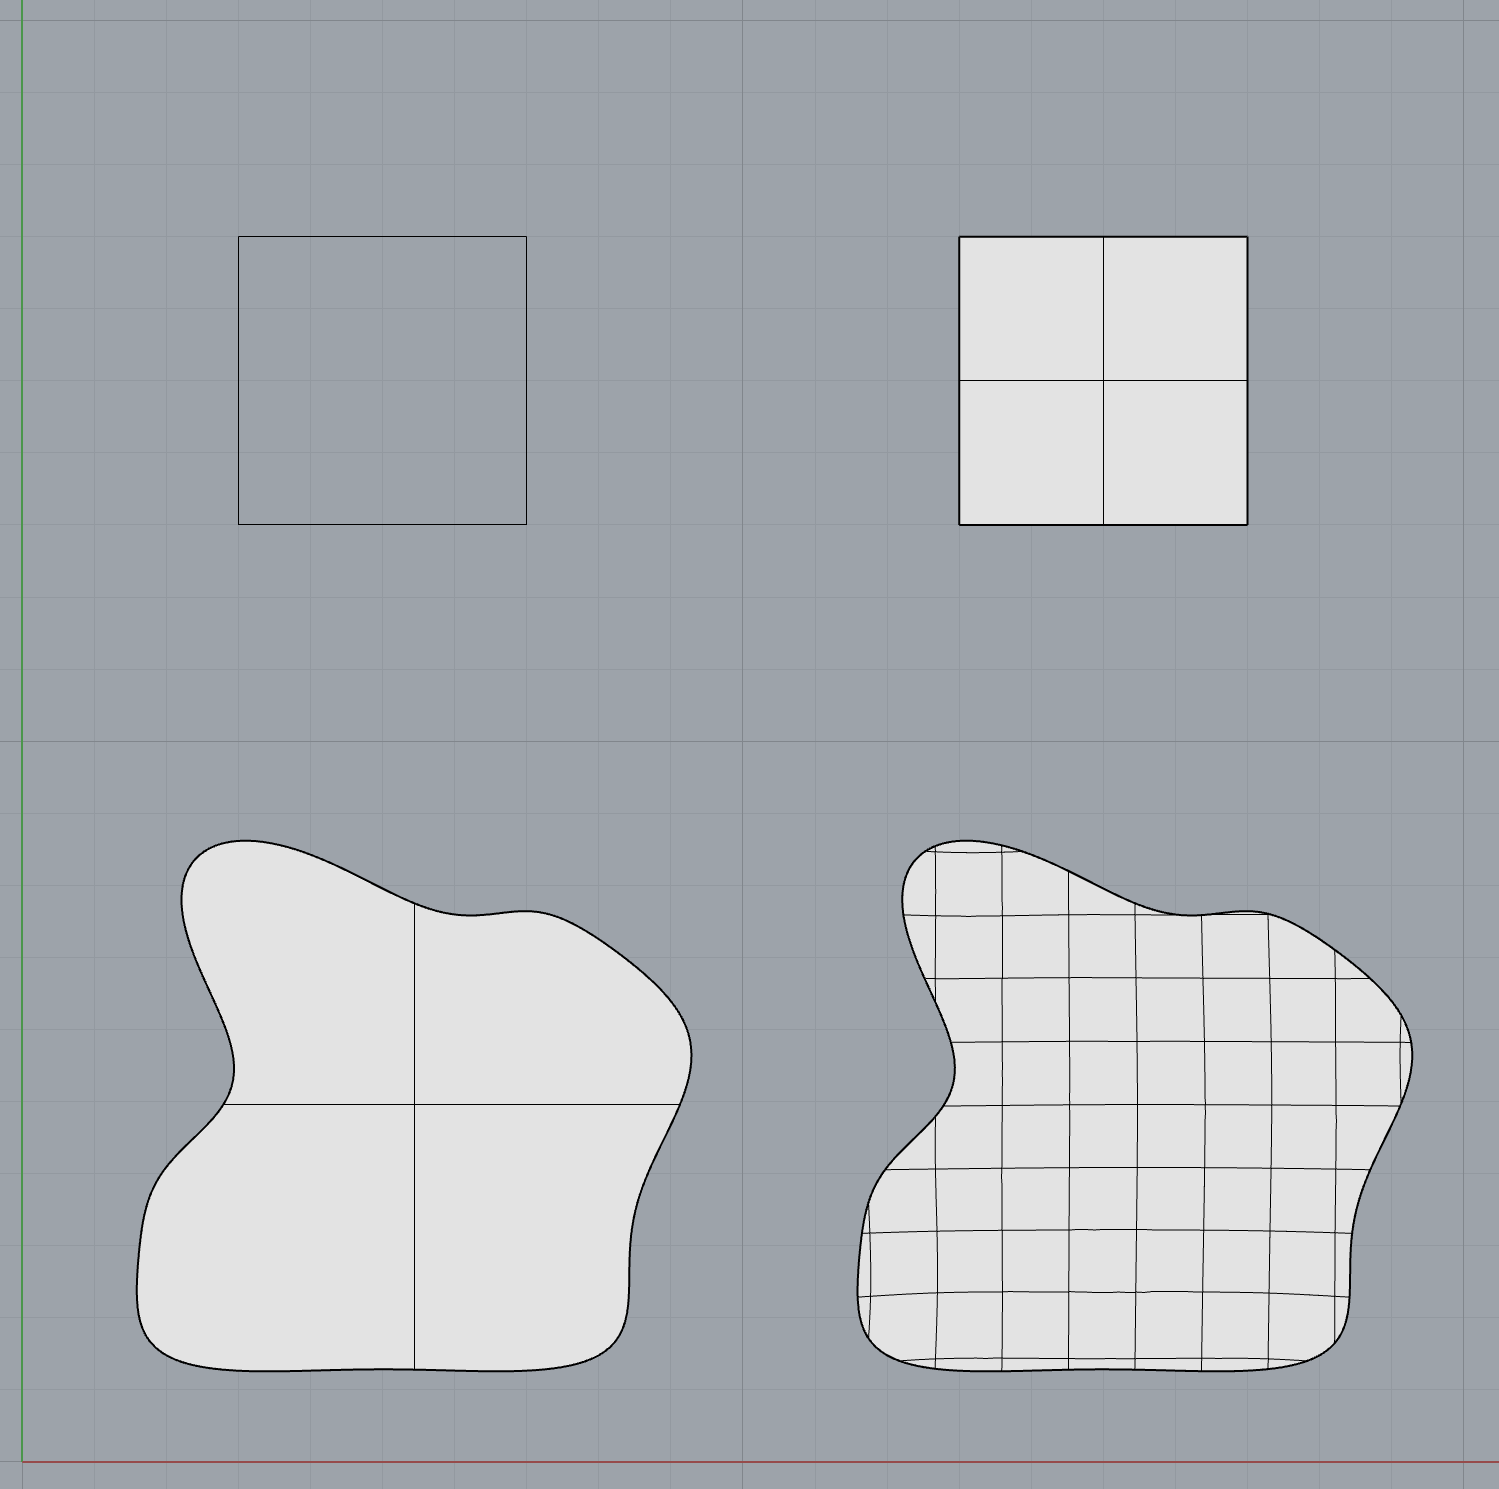
Surface from.../Patch: From a network of points and curves, you can fill them in to create surfaces in Rhino. If you have a more complex curve that you want to convert into a plane, the planar curves or patch tools are better options to go for.
Trim/Split command:
Trimming allows you to delete selected parts of an object against other shapes, whilst splitting an objects simply separates part of an object from the other whilst keeping both outputs.
Join/Explode:
Joining up surfaces brings two objects together as one. The explode feature separates all the components of a single object (like an exploded axonometric shows the different components of a building).
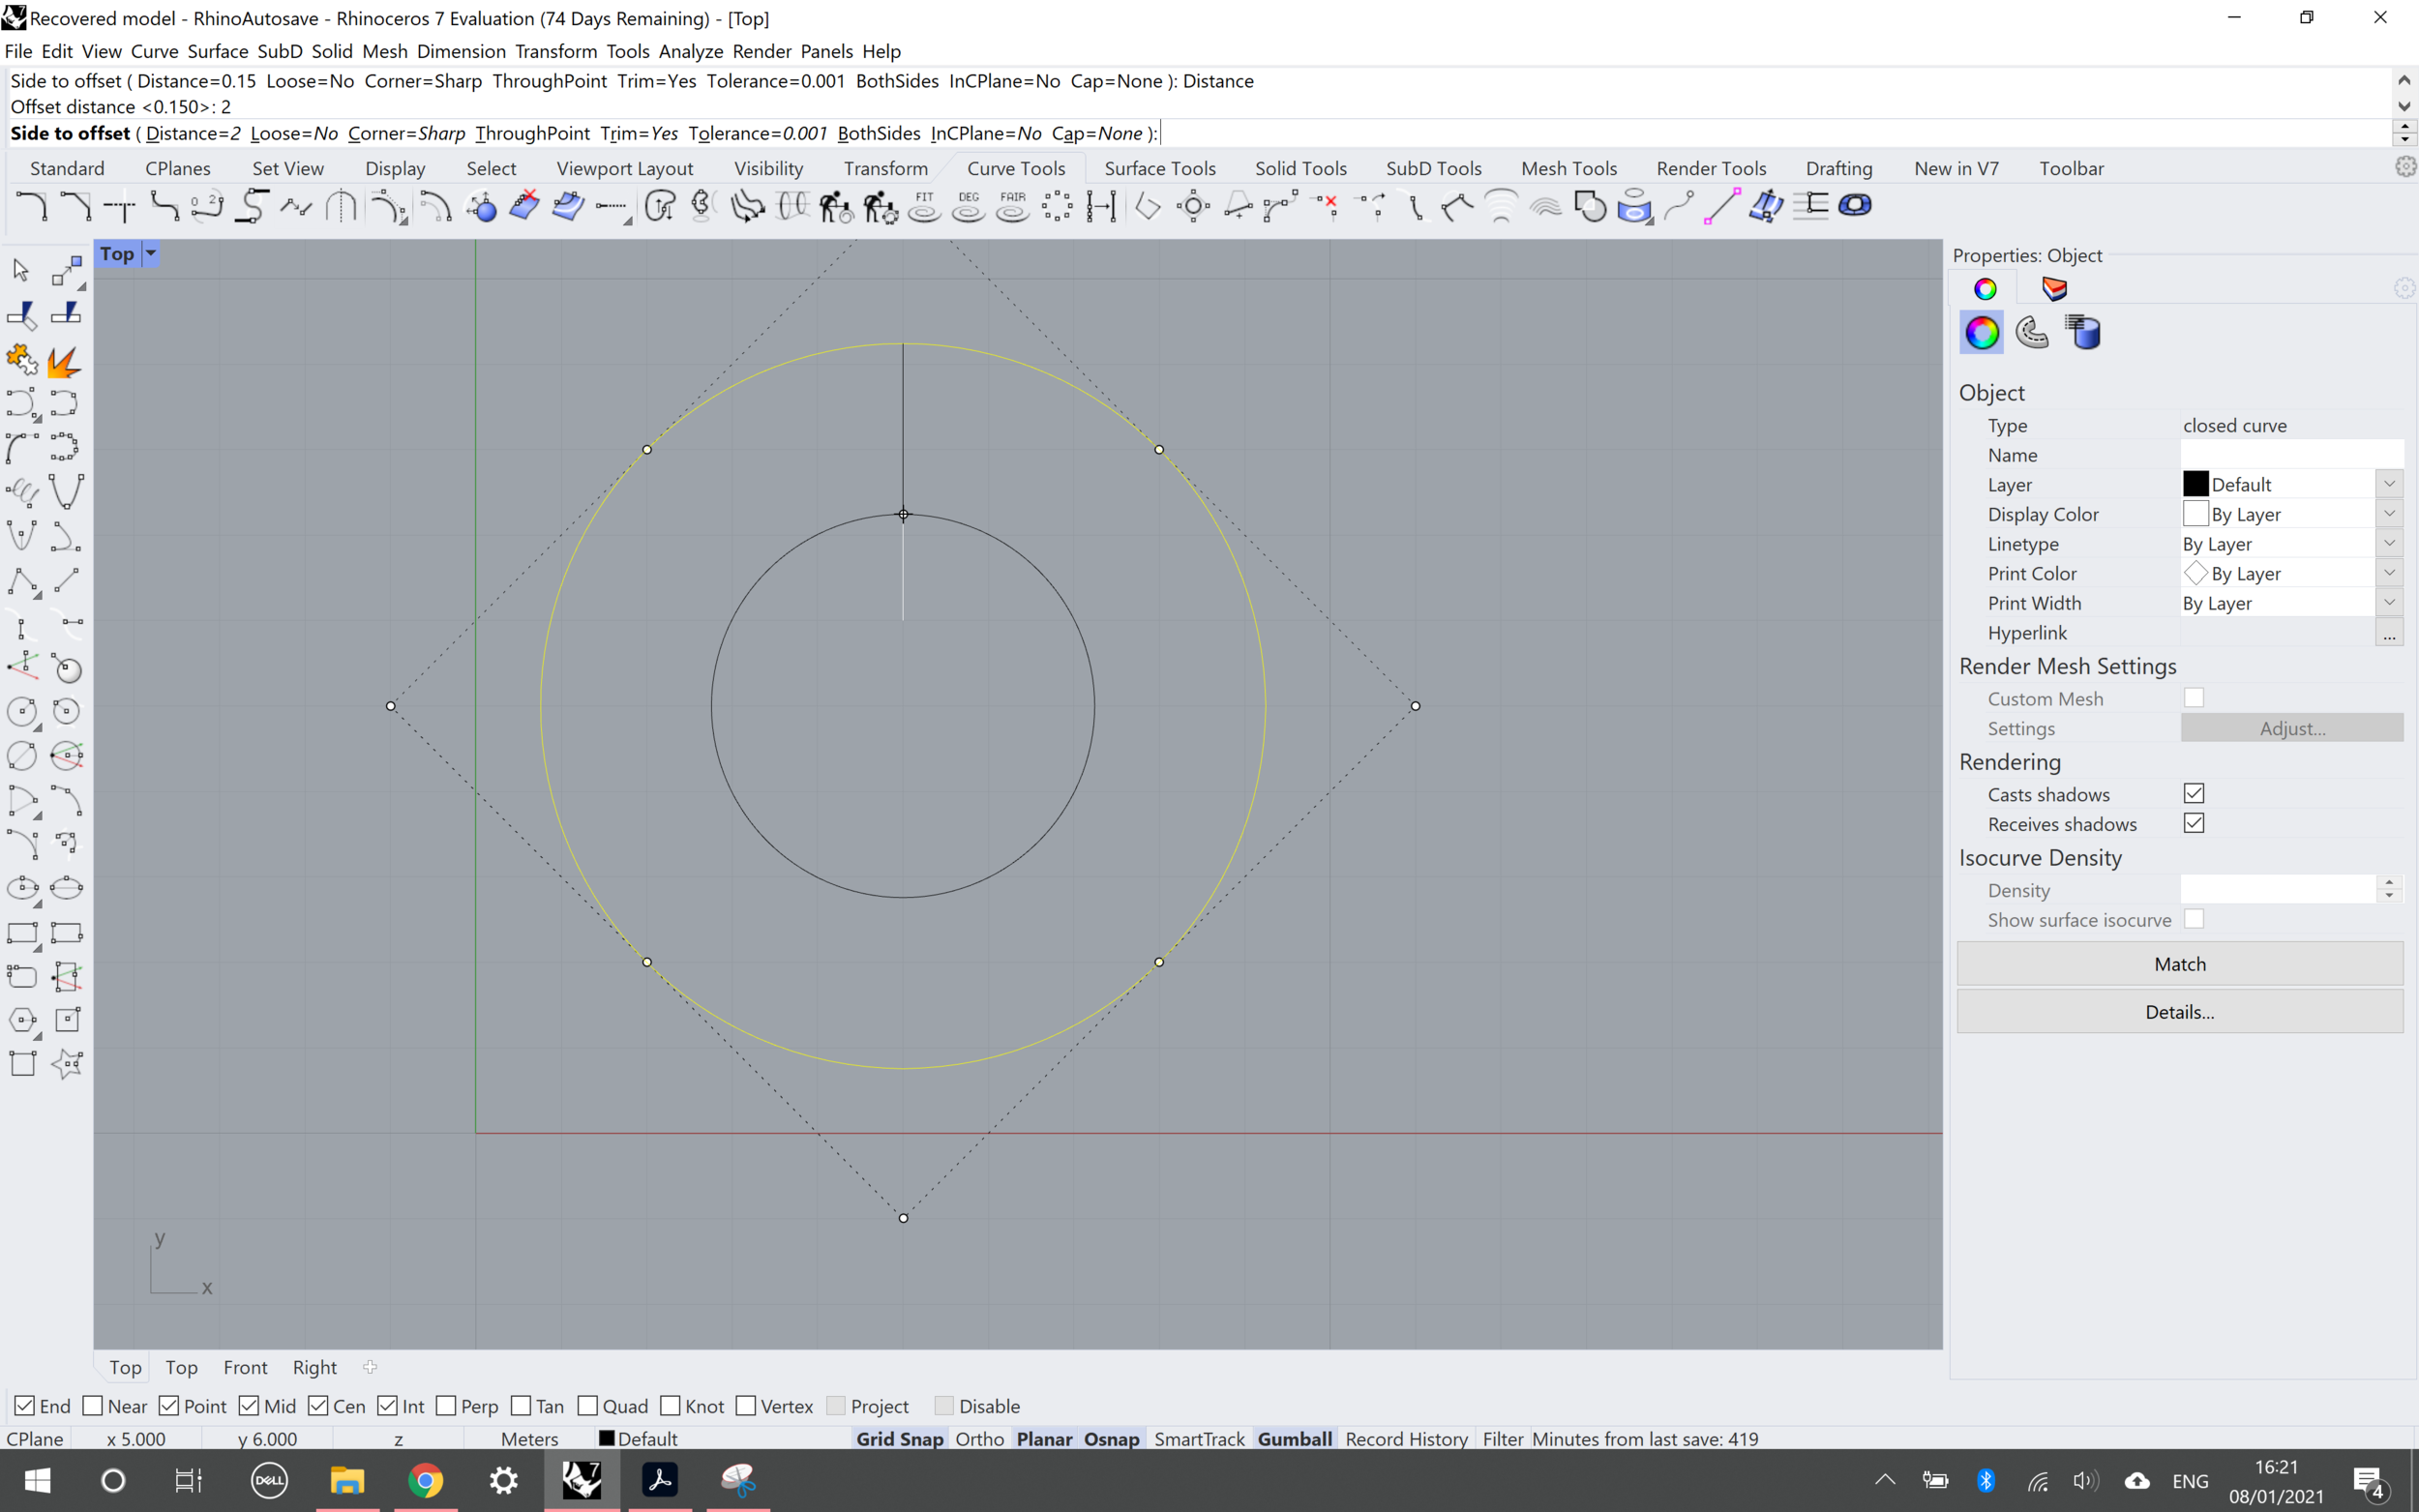
Offset: If you're building up a model from a 2D plan and want to make a wall or something similar where you need to model objects with thicknesses, the 'Offset' tool is a really handy feature.

Shell: This tool makes it easy to quickly shape a mass-like solid into something that resembles a structure of walls and floors.

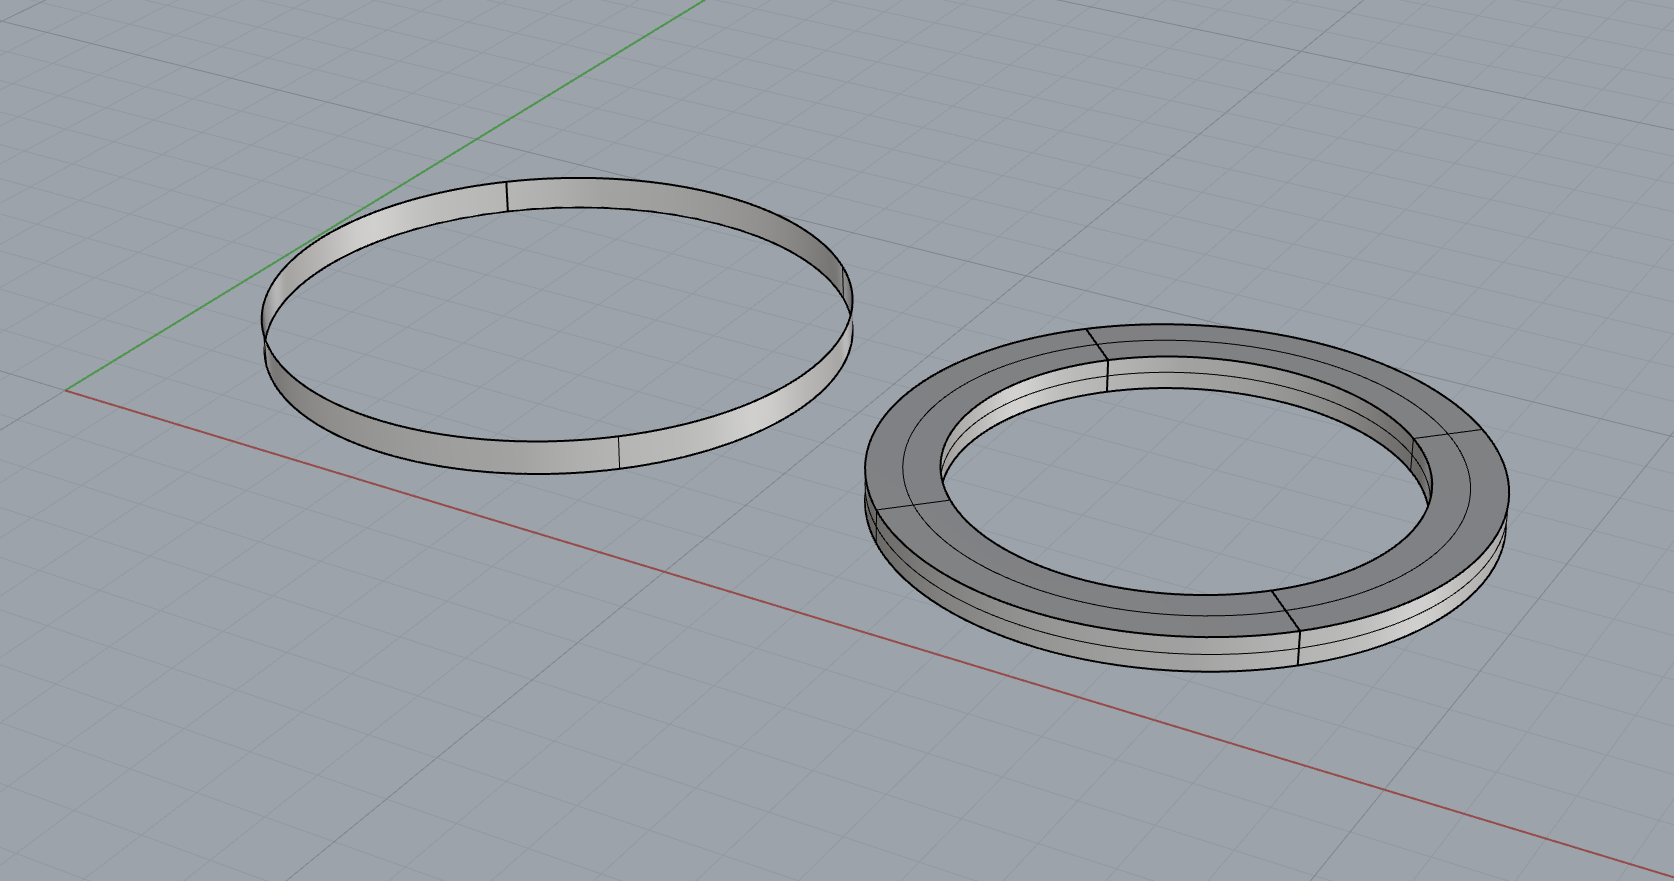
Boolean Tools:
Boolean Union: Joins overlapping 3D solids together
Boolean Split: Splits intersecting 3D solids into components, keeping all of the components that were affected by the command.
Boolean Intersection: Keeps only the intersection of overlapping 3D solids
Boolean Difference: Deletes the intersecting area of 3D solids
Useful resources to learn Rhino 3D
Now that you know the basic features of Rhino, here are a couple of resources you can look to in order to extend your Rhino knowledge.
LinkedIn Learning
LinkedIn Learning has great software and skill-building courses and tutorials for a lot of programmes you might want to learn. As a follow-up from this post, David Schultze's 'Rhino 6 Essential Training' platform is a great place to go to on this platform. Even though Rhino 7 has recently been released, the features that the course goes through which you need are more or less the same as the latest version
YouTube
Like LinkedIn Learning, YouTube has great videos and tutorials on how to use different features of Rhino. If you're interested in parametric modelling, start by looking at some YouTube videos which show the capabilities of the plugins Rhino offers.
Instagram:
There are many accounts out there you can keep up with that focus on giving bite-sized Rhino tips and tricks. Some are a directory to other resources, such as HowToRhino which have a YouTube channel with great videos on Rhino modelling.
That's it for today's post! I hope you found this useful to approach how to get started with learning Rhino 3D. It truly is such a versatile software with numerous capabilities that one post could never cover. Have a suggestion for a particular tutorial on Rhino you'd like to see? Send your suggestions to dabbleenquiries@gmail.com, or get in touch with us on our Instagram @archidabble.